 |
| Fix “Windows 10 can't connect to this network” | Total Tech |
Introduction about Windows 10 can't connect to this network problem.
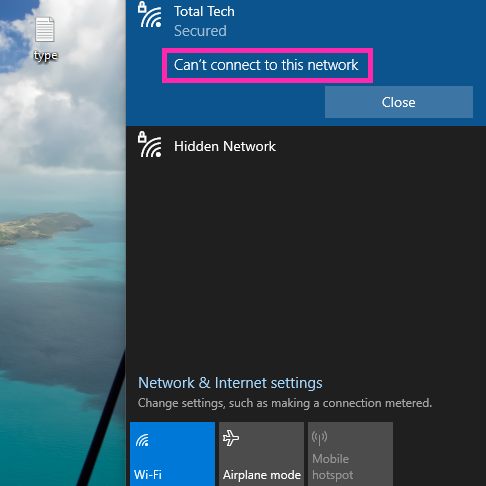
Hello guys, Today I will solve one irritating problem about Windows 10 can't connect to this network. This is a common problem and one time everyone has to face this problem, So I will help you to solve this problem. I will give all Possible Methods to solve this problem. So, without do any further delay let's start:
Method 1:
- Click On the start button.
- Click On the settings button.
- Click On the Network & Internet.
- Scroll down, here you click on Network reset under the Advanced Network Settings.
- Now, Click On Reset Now.
- Now, Restart your device.
- Now, This problem Windows 10 can't connect to this network was Fixed.
If this method does not work then try other methods.
Method 2:
- Click On the Search button, then search CMD.
- Right Click On the CMD, then click on the Run as Administrator.
- Now it Takes one permission you Click On the Yes button.
- Now, run all the commands one by one.
- Run First Command ipconfig /release.
- Run Second Command ipconfig /flushdns.
- Run Third Command ipconfig /renew.
- Run fourth Command netsh int ip set dns.
- Run Fifth Command netsh winsock reset.
- Run the sixth Command exit.
- Now, Restart your device.
- Now, This problem Windows 10 can't connect to this network was Fixed.
If this method does not work then try the last method.
Method 3:
- Click On the Search button, then search Control Panel.
- Click on the Network and Internet.
- Click on the Network and Sharing Center.
- On the left side, Click on the Change Adapter Settings.
- Now right click on the Wi-Fi, then click on the properties.
- Double-click on the Internet Protocol Version 4(TCP/IPv4).
- Select Obtain an IP address automatically and at the bottom select Obtain DNS server address automatically.
- Now, restart your device.
- Now, This problem Windows 10 can't connect to this network was Fixed.
This problem Windows 10 can't connect to this network was solved after trying all these methods. So, now if any chance this problem does not solve then you can comment to us so I Will come with other solutions in the Second part of Windows 10 can't connect to this network.
I Hope, Your all queries were clear after reading this Windows 10 can't connect to this network post. Now, If you have any other queries about Windows 10 can't connect to this network, You can comment to us so we will try to clear your all queries about Windows 10 can't connect to this network.


0 Comments
Hey, Thanks Forgive Interest in our article and Comment Us Freely. From Total Tech!! Thanks!!